This guide works only on Firefox for Android versions with about:config access
like Firefox for Android Beta, Developer Edition or Nightly. It also works on
sane forks like Fennec F-Droid
or Iceraven, but not
Waterfox (which doesn’t give any download option
anyways, so you can only have Google place it on your device if you happen to
use a Google-infested Android firmware).
Step by step guide with expanations:
- Open your Firefox for Android version
- Type in
about:config(exactly like that) into the address bar and press enter- This opens the hidden extra configuration opens that Mozilla things are too important for normal Firefox for Android stable users to have access to on mobile.
- Search for
network.proxy.in the search bar on the opened page - Scroll down until you find
network.proxy.socksand enter “localhost” into the hard-to-see text box below that name- This sets the Socks hostname that the browser should connect to – “localhost” is the current device.
- Just below you’ll find
network.proxy.socks_port; enter9050there unless TOR is configured on a different port (unlikely) - Just below that you’ll also find
network.proxy.socks_remote_dns– if this isn’t already set totrue, tap the setting, then tap the “Toggle” button to enable it- This makes sure all data will be sent through TOR, otherwise your connection may be susceptible to DNS Leaks.
- If the setting below that (
network.proxy.socks_version) doesn’t already say5(unlikely), make sure you change it to that * There is an older version, Socks 4, that is slightly broken, don’t use it. - Finally, towards the end of the options list, there is the setting
network.proxy.typewhich sets whether Firefox for Android will be using the proxy settings you just entered; change this to1!- The default value
5means “Use system settings” (and ignore the local ones set in the previous steps), the value0means “Don’t use any proxy ever / Directly connect to the internet”,1means “Use manual proxy configuration”.
- The default value
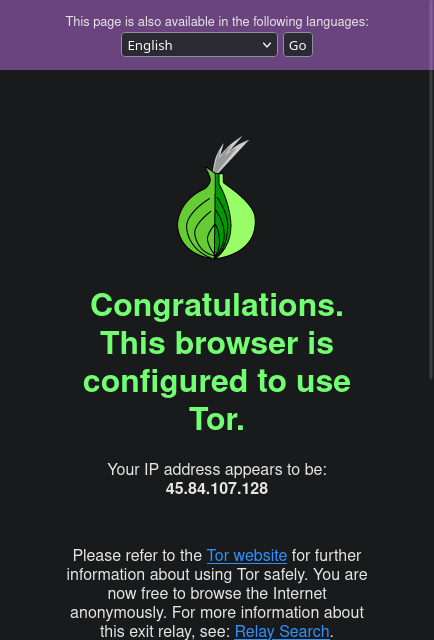
After setting these values and making sure you have TOR running, you should be able to open https://check.torproject.org/ and see the green “Congratulations. This browser is configured to use Tor.” message!